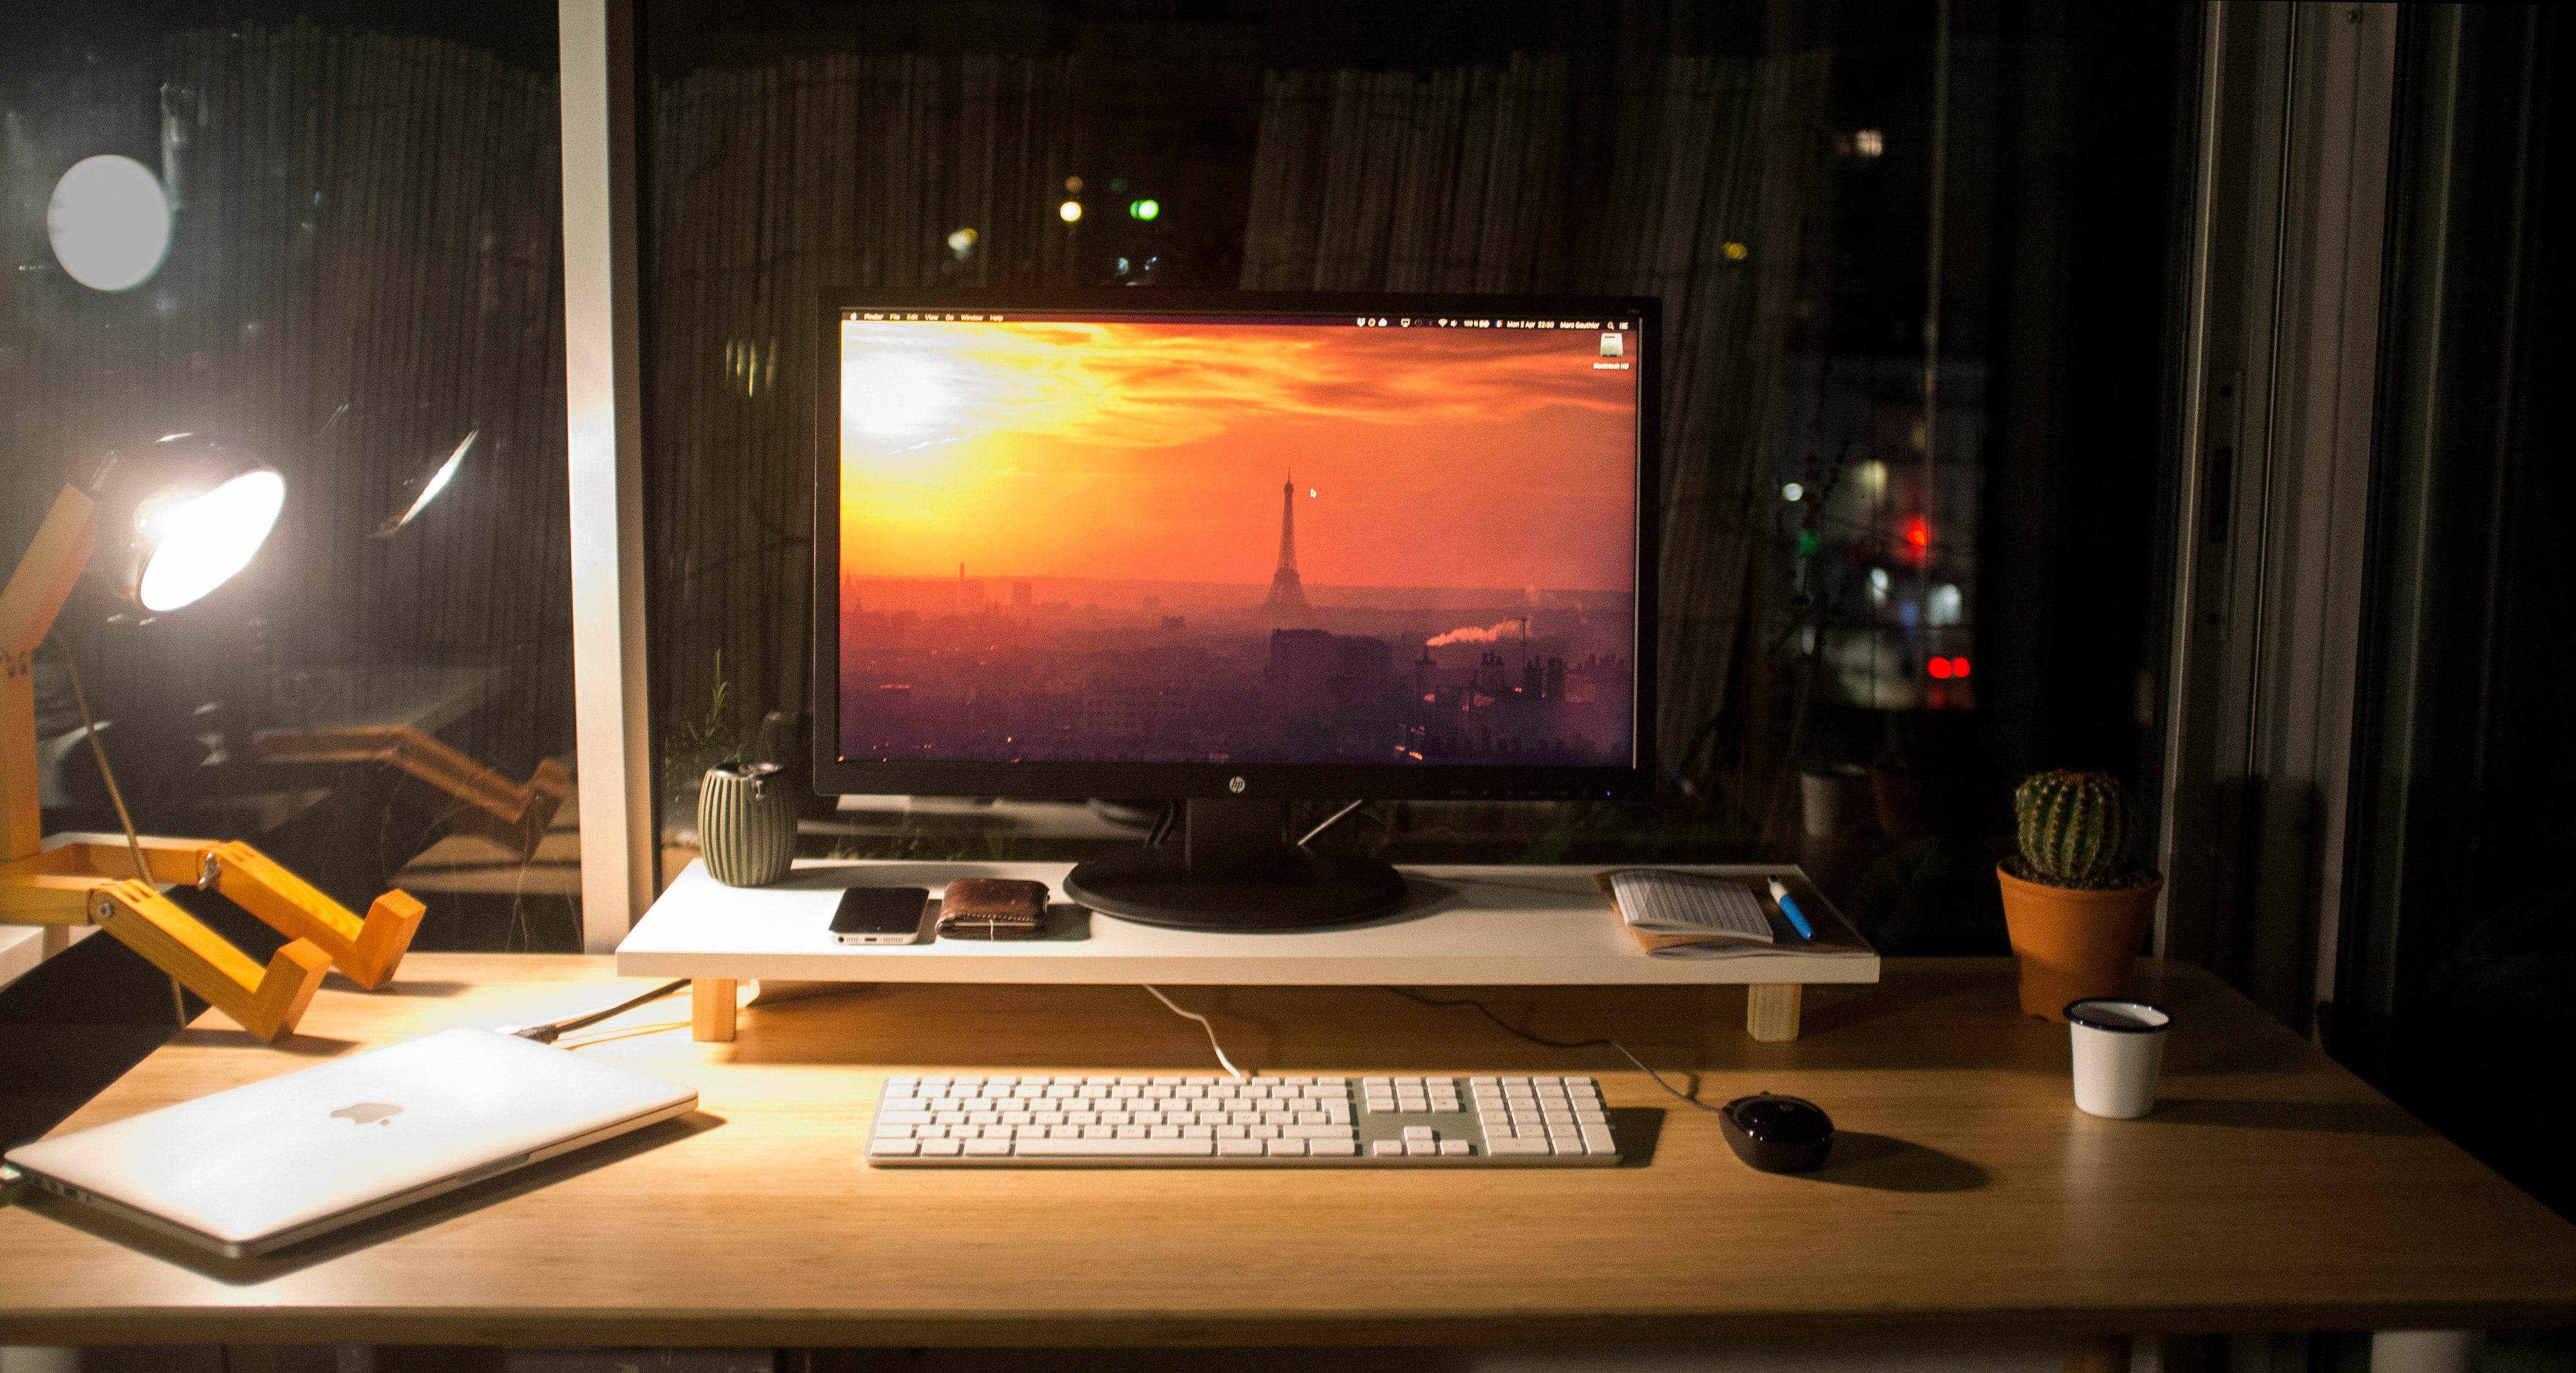
I’ve bought a new desk as well as a new monitor, so I’ve decided to improve my setup. The desk is a simple Ikea Hilver table, but I built the monitor stand. Since I wanted to keep track of what I did, I took some pictures and I figured I could share them here… to be honest I’m not a good handyman, so I’m not sure if it’ll be useful to anyone but here you go!
Note that it is heavily inspired by Jeff Sheldon’s stand, but I didn’t use raw wood because I felt a simple melamine white panel would look better with the bamboo desk. I also didn’t want to use the Capita legs because they would make my monitor way too high and hurt my neck in the long run, so instead I built custom legs.
Disclaimer: This article was a nightmare to write in English, I couldn’t find proper translations for woodworking terms I only knew in French like “tasseaux”, “double filetage”, “chant thermocolant”, “niveau”… so don’t hesitate to correct me in the comments!
The Material
- Melamine white panel 80cm x 25cm, 6.95€
- Leftover pine wood approx. 2m, 2€
- Double threaded bolts, 2.79€
- Thermobonding decorative film, 5.40€
How To Build It
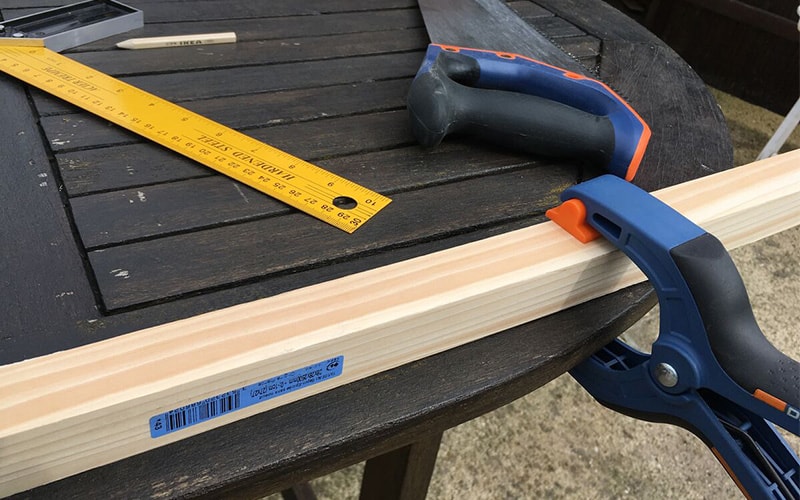
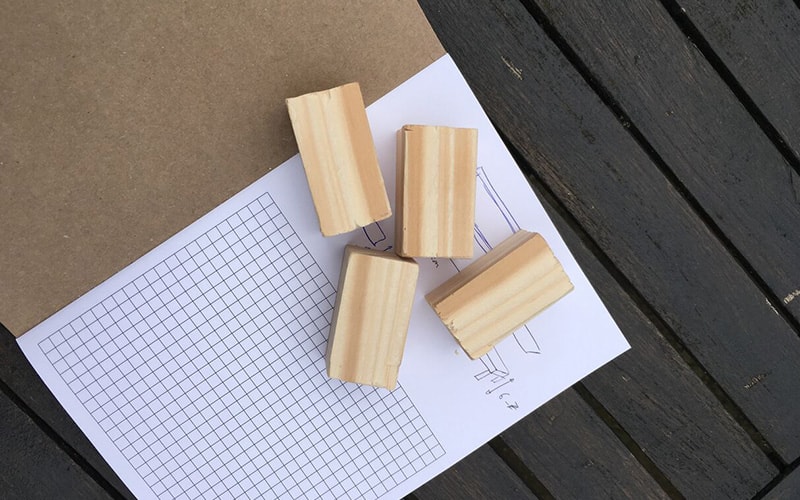
I bought a really simple leftover piece of pine already cut like this. In order to build the legs I just had to cut it into 4 pieces of 5cm each - instead of 10cm for the smaller legs I found out at retailers.
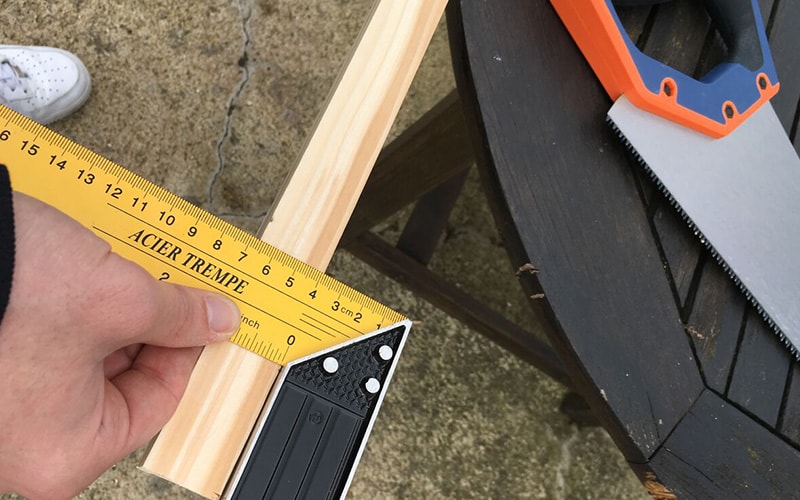
Be careful when measuring! The sad thing is that I only have this really old school saw that destroys everything in its path. It did the job, but I was happy to have a bit more wood than I actually needed.
The raw four legs.
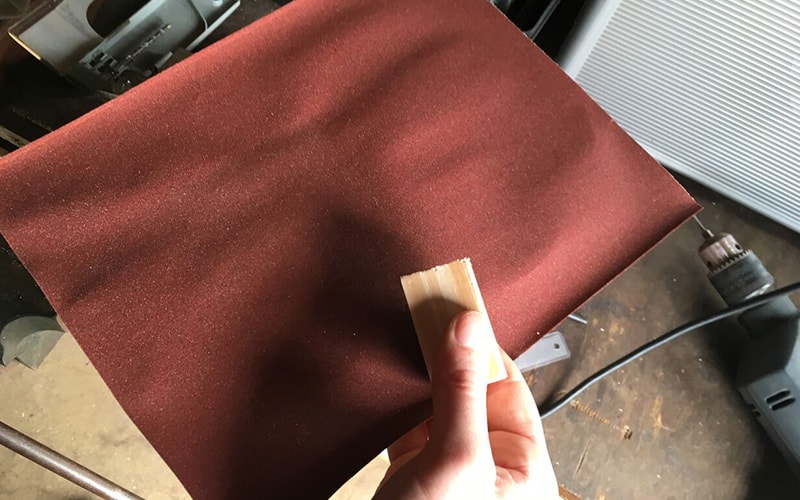
Since the saw did quite a number on the wood, some sanding was needed to smooth everything out. If the leg was too damaged but still working I saved it for the less visible back of the monitor stand.
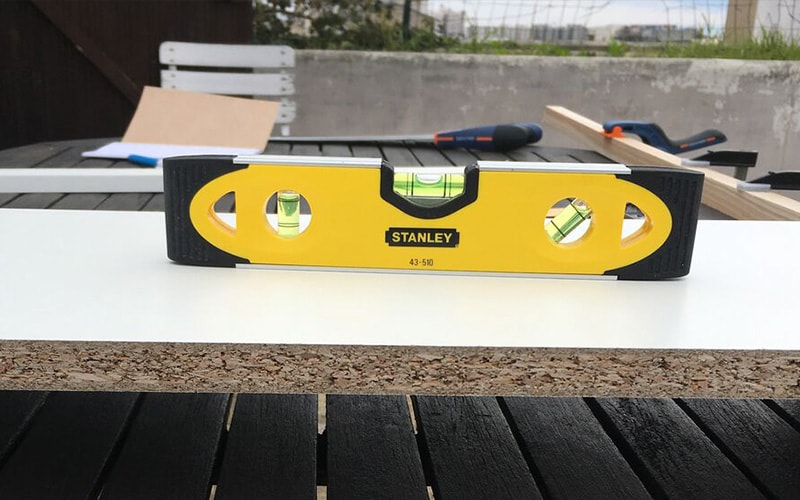
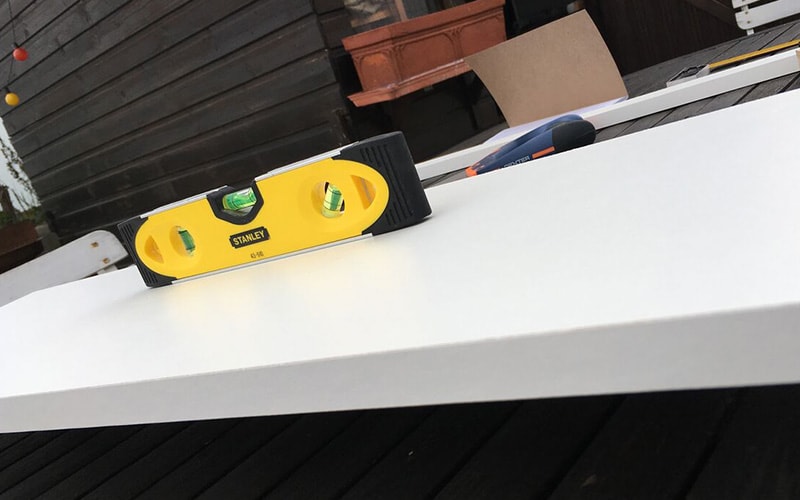
Testing if everything is level… success!
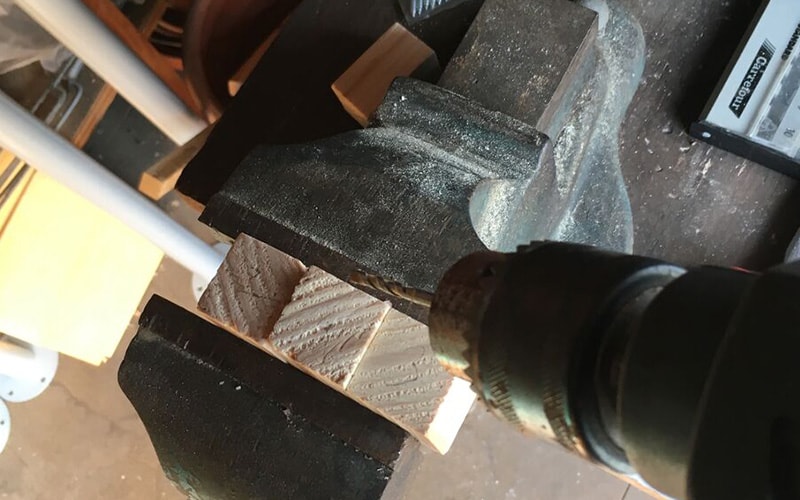
Now drilling into the legs.
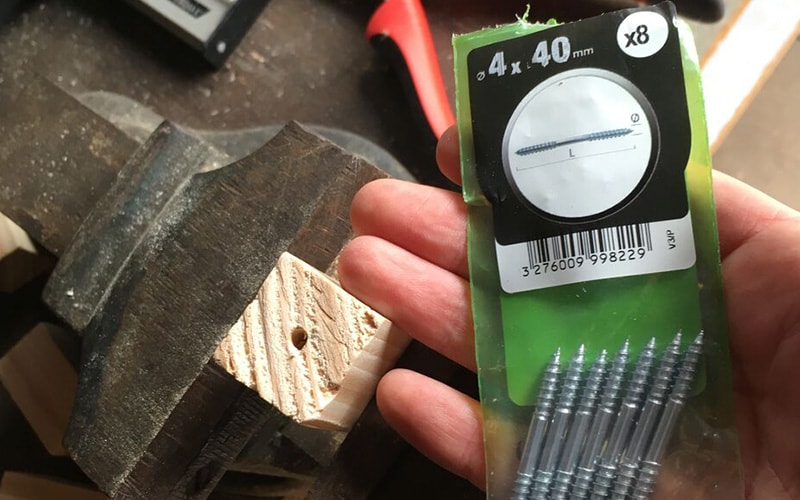
Then to add the double thread bolt.
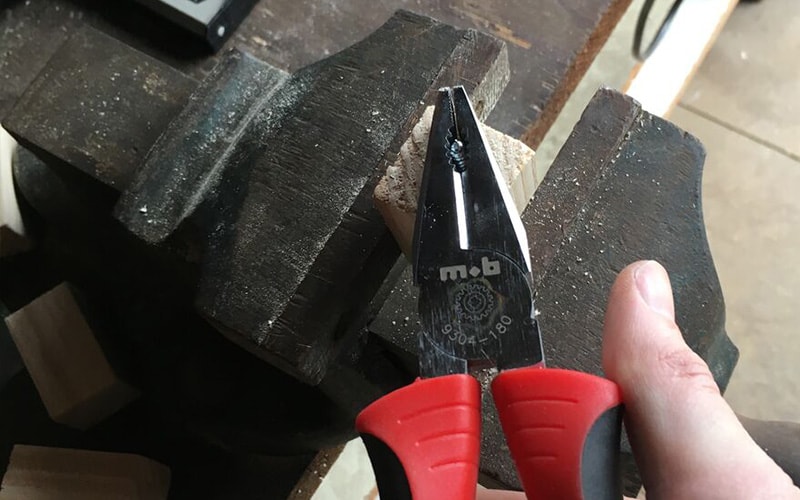
There might be a better way to do it, but I used pliers to screw it to the legs.
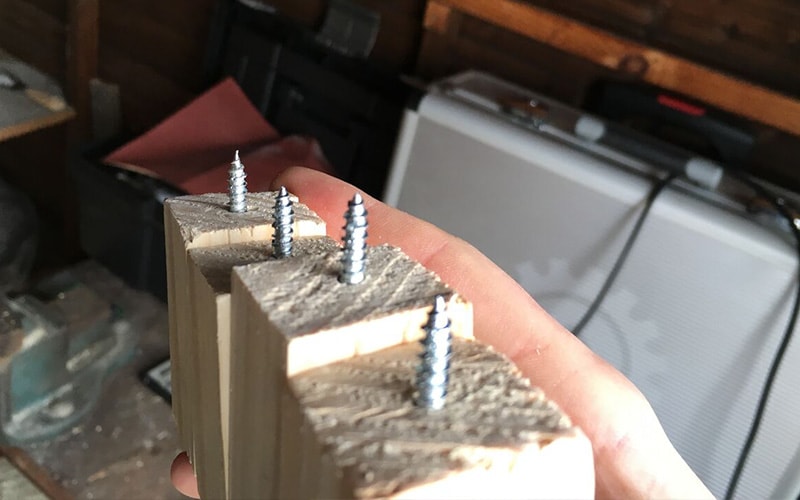
There are some minor imperfections, but that’s fine since they are mostly going to be underneath the panel.
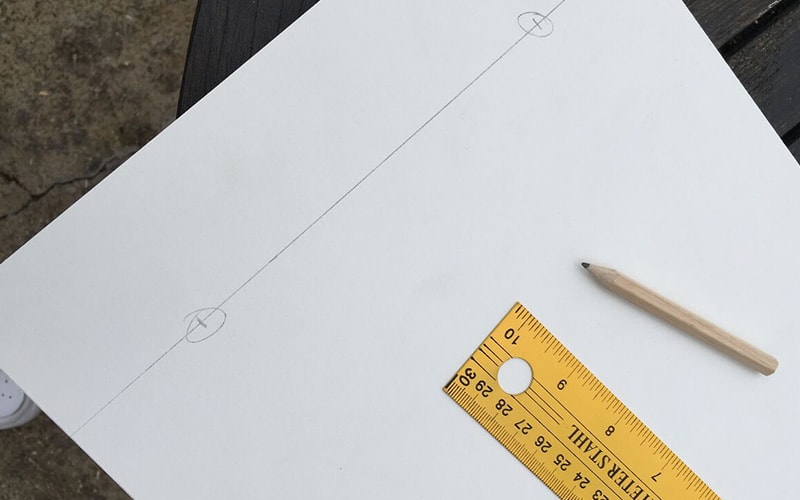
Now to measure where to add the legs. I decided to offset them a lot from the edge of the panel. This in addition to their color really close to the bamboo should make them barely visible.
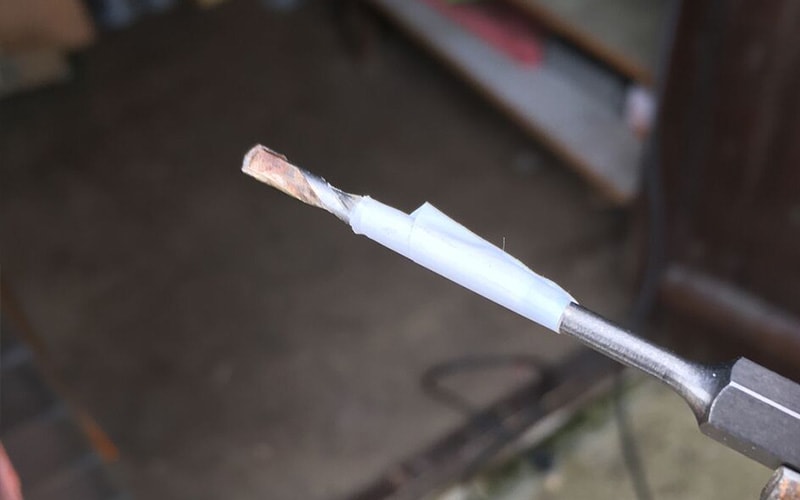
Protip: use a piece of tape to know exactly how far to drill!
Screwing the legs, then testing the level again.
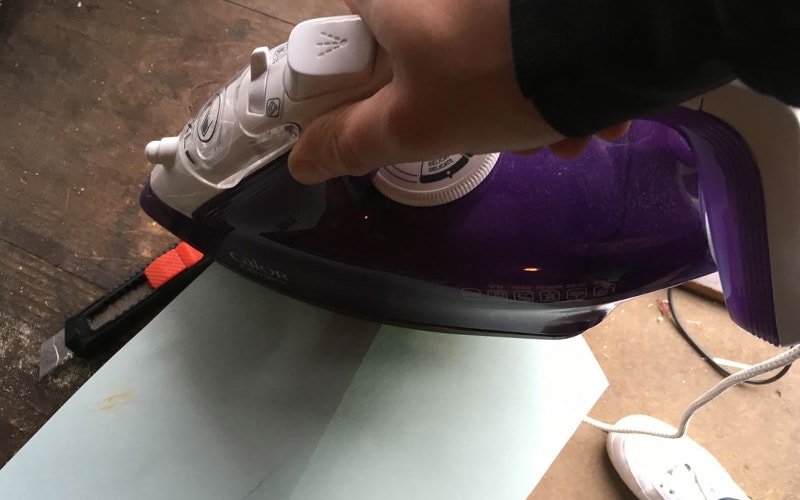
Since it’s a white panel, I wanted to use decorative film on the sides to hide the wood. The one I found was thermobonding, so I had to use an iron. To avoid damaging it, I put a piece of paper between the iron and the film.
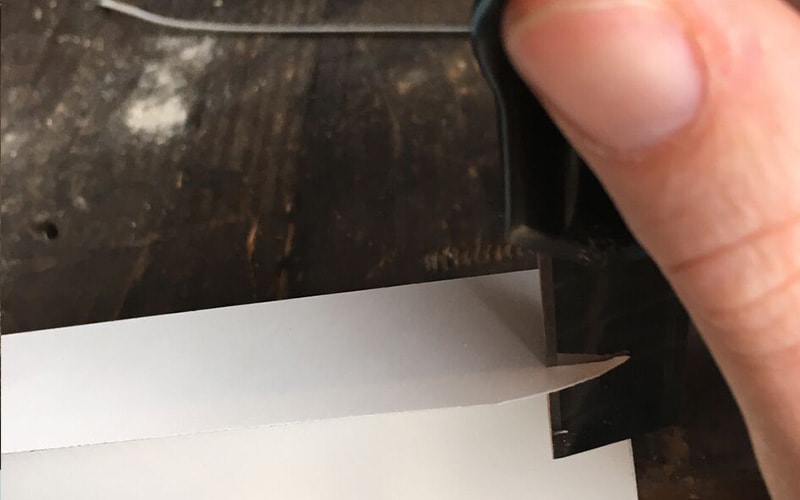
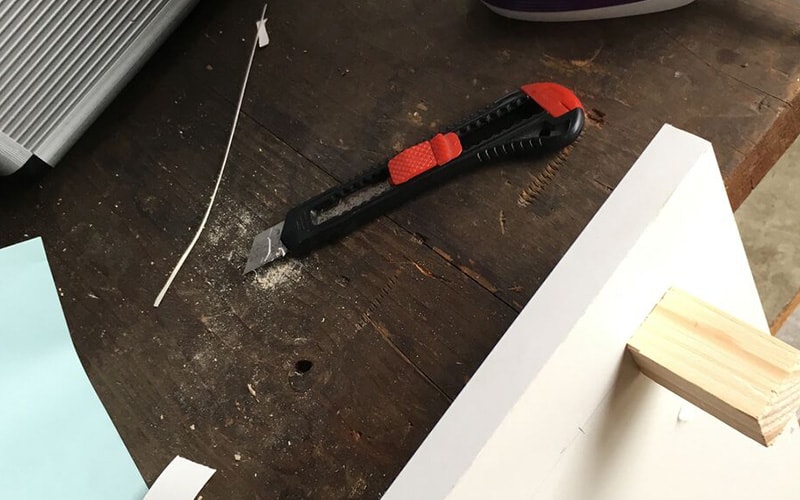
Then to remove the extra material with a cutter.

If it’s not very precise, it doesn’t feel correct.
Looking good!
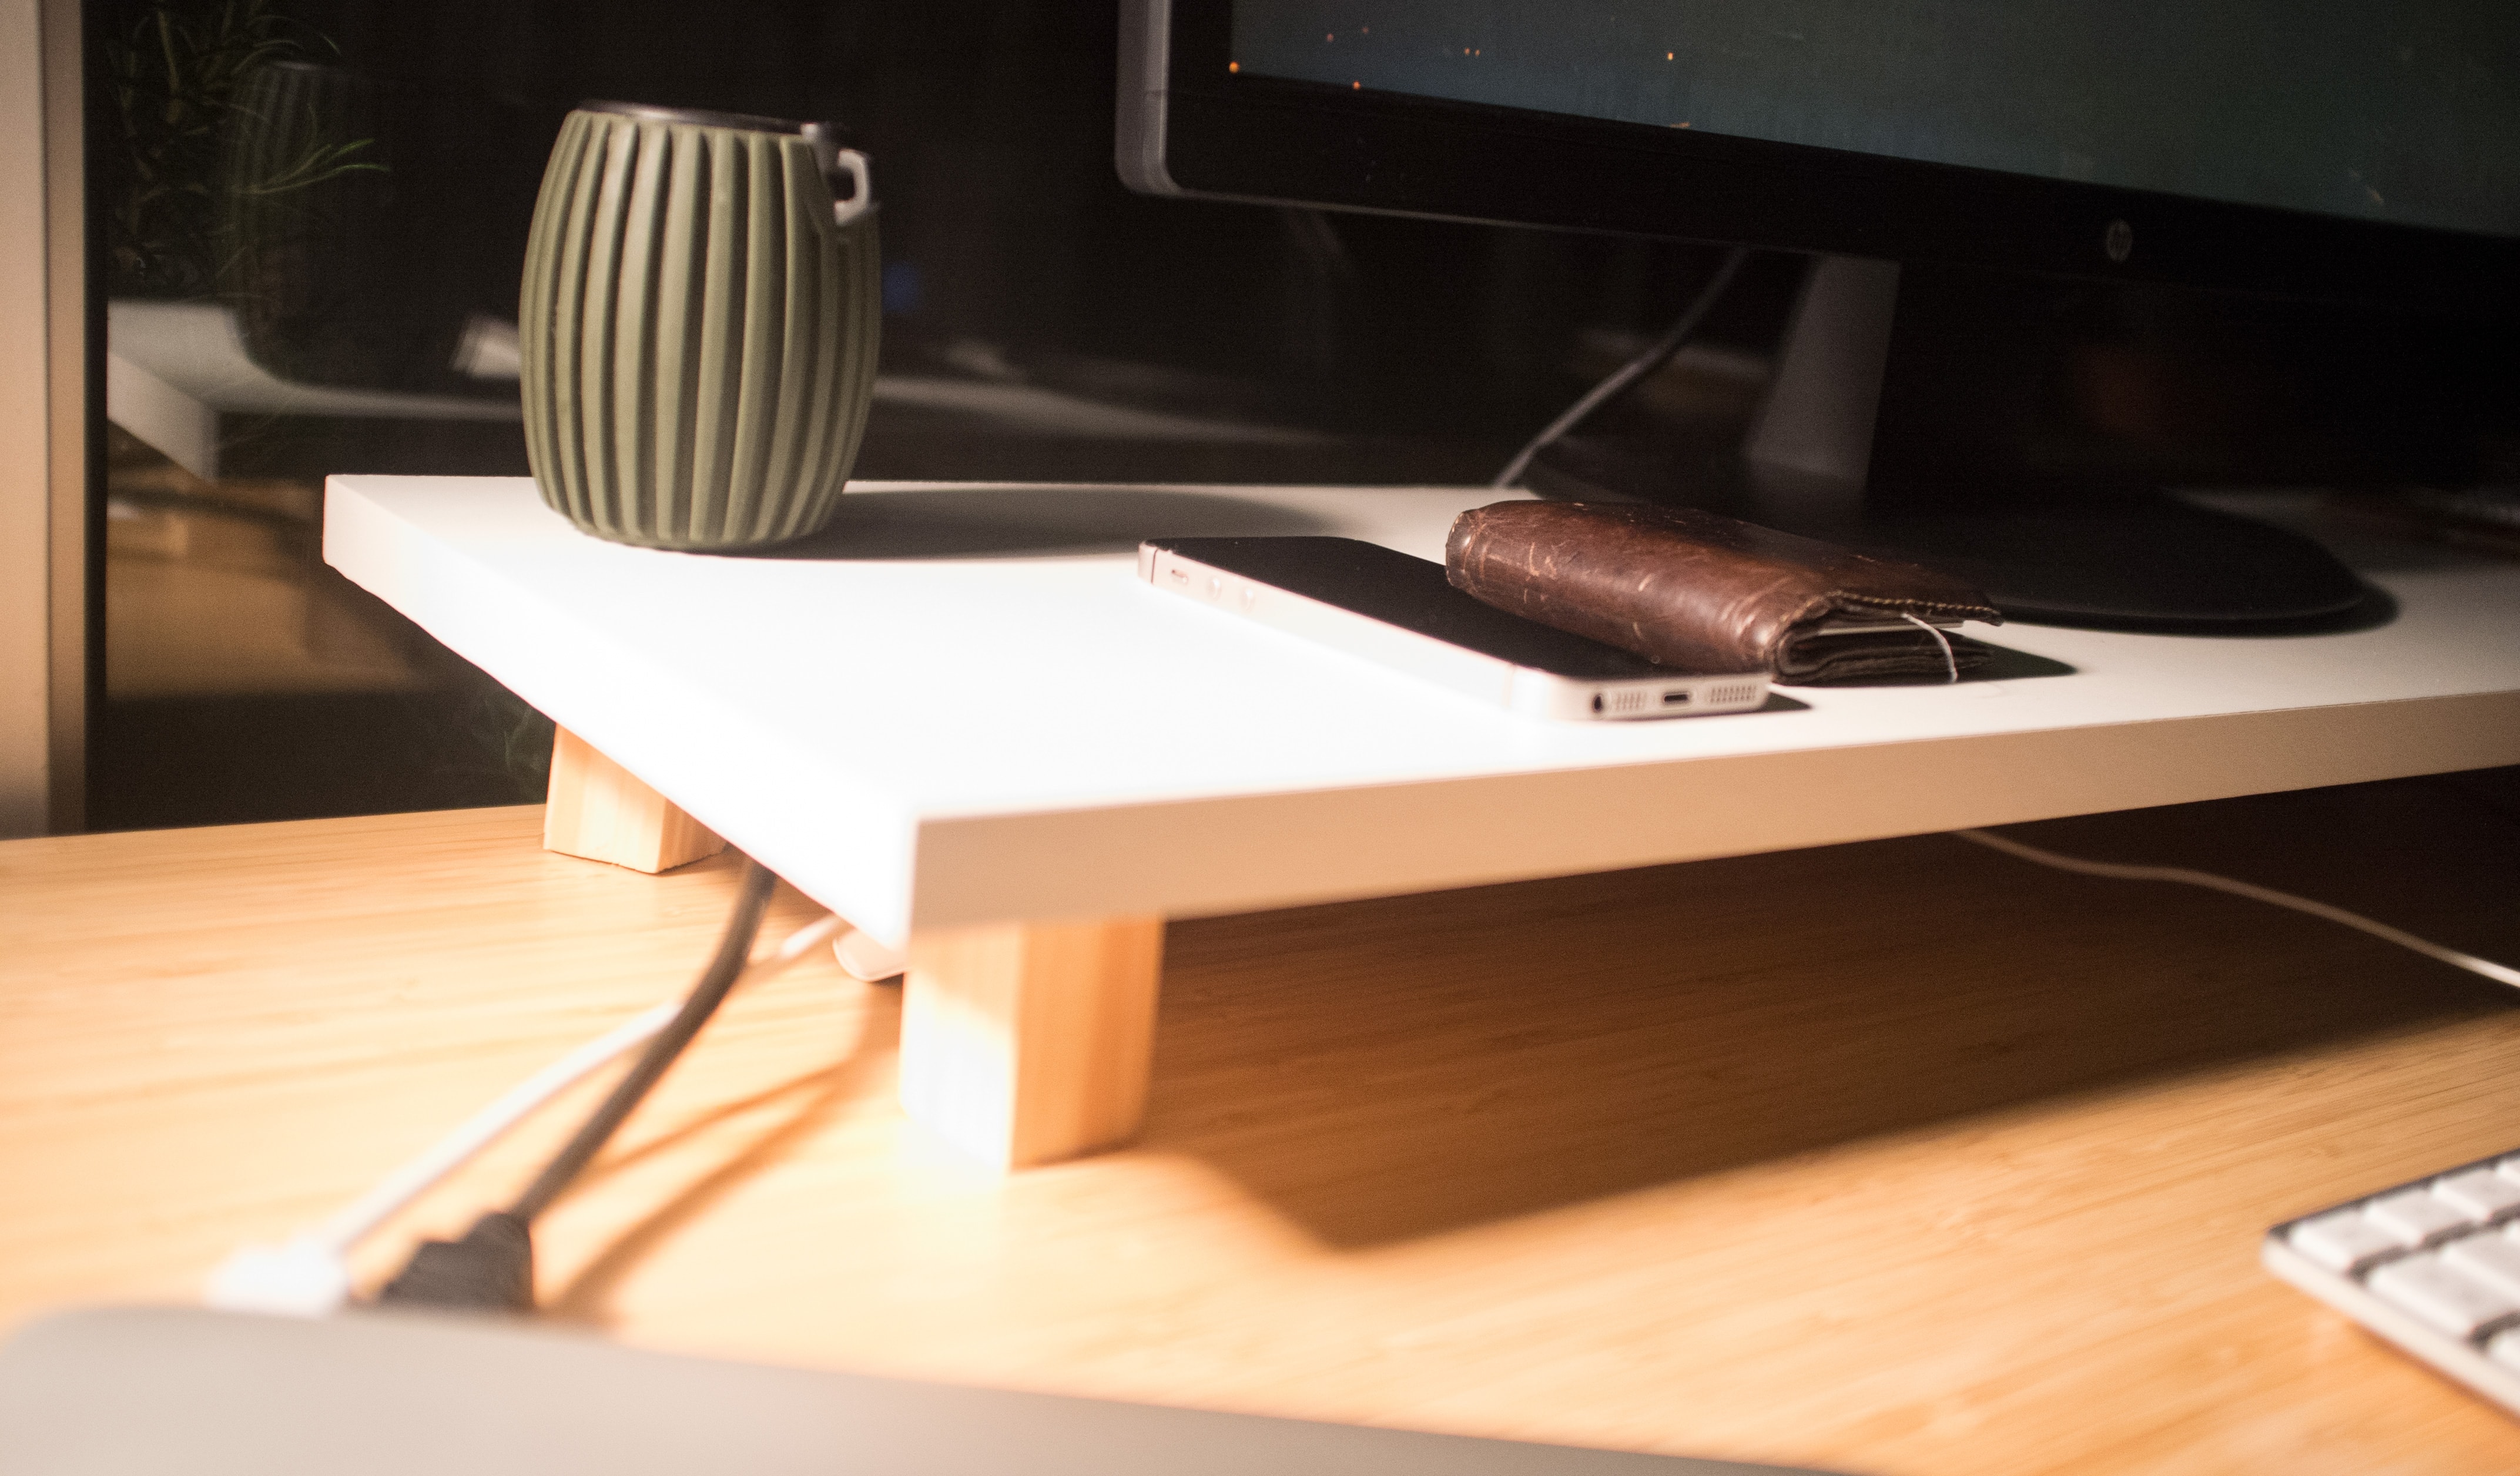
Underneath the monitor stand I can hide a USB hub where I plug the mouse and keyboard so I don’t have too many wires going around, but I’ll probably get a wireless mouse and keyboard soon. On top of it I store a few things, including my bluetooth speaker. I didn’t invest into bigger speakers because I mostly use my tacky gaming headset. My monitor is a simple 24’’ HP and on the side you can see my 2012 Macbook Pro that’s still holding up very well.
Since you scrolled this far, you might be interested in some other things I wrote: