When sharing a link on social media, the site often displays an image to make it more appealing. However on my blog I decided to keep things simple, often not having any header image or illustrations. This means my blog is faster to load and I don’t spend time browsing stock picture websites to find something somewhat related to what I’m talking about.
The problem is that in most cases sharing my articles will look like this:
It’s not that bad, but after years I decided to do something about it. Of course I could open Photoshop, create a few images and call it a day, but that would be way too simple
wouldn’t scale™.
Making It Look Nice
I’m a terrible visual designer, so I needed to do something simple. I also wanted to avoid only having a random stock picture of people in suits shaking hands or a sunset, and instead have something more customised. I figured a way to go about it would be to generate an image with some text on top of some kind of background.
Tweaking Stock Images
There are a lot of good quality stock images out there. My issue with them is that they look very generic. In order to make them appear more distinct, I decided to run a selection through Duotone to make them match the simplistic color palette of my blog.

There’s not much color on my blog, but I do have a gradient on top of the page (wow!). I decided to use this gradient to add a border. I made a quick photoshop template and processed a bunch of duotoned stock images through it. I also added a small Gaussian blur to the images so that they don’t take the attention away from the text.
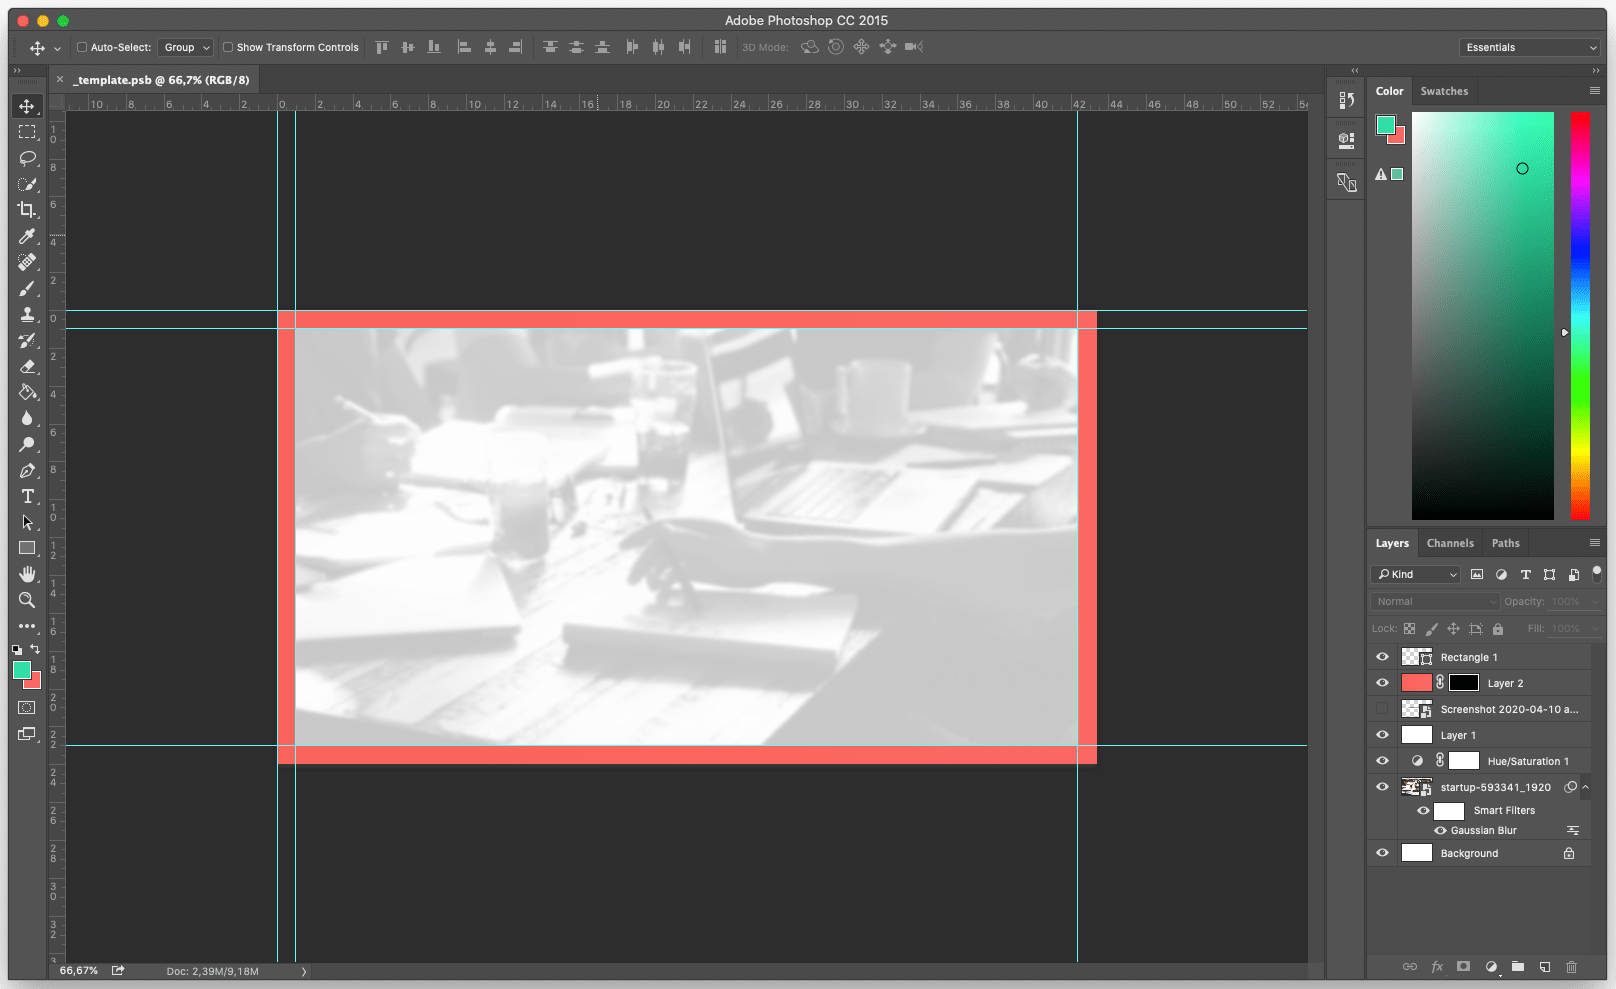
Once I ran through this process a couple of times, I realised that I really didn’t like to do it. I also didn’t want to find a new image and go through this whenever I wrote a new article. The value added is small, and I much prefer focusing on writing things than optimise my social media presence. So instead I used the category system already in place in my blog and created a background per category.
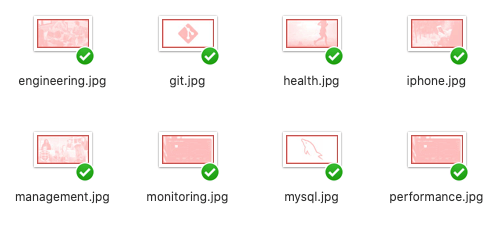
This way all “Management” articles will have the same background, saving me the trouble of building a new image for each article. This feels fine to me because the images will be customised with the preview text.
Adding Text
At first I wanted to display the article’s title. However some of them were very long and I would have to make the font very small to get the text to fit. Doing this was also just repeating what was displayed in the linked title below, not bringing anything new.
I decided instead to write a new “preview title”, which would be a way smaller version of the main article title. For instance “Engineering Team Meeting: Format & Topic Ideas” would become “Engineering Team Meeting”. In the future I will also try to experiment with catchier titles for this image and see how this performs.
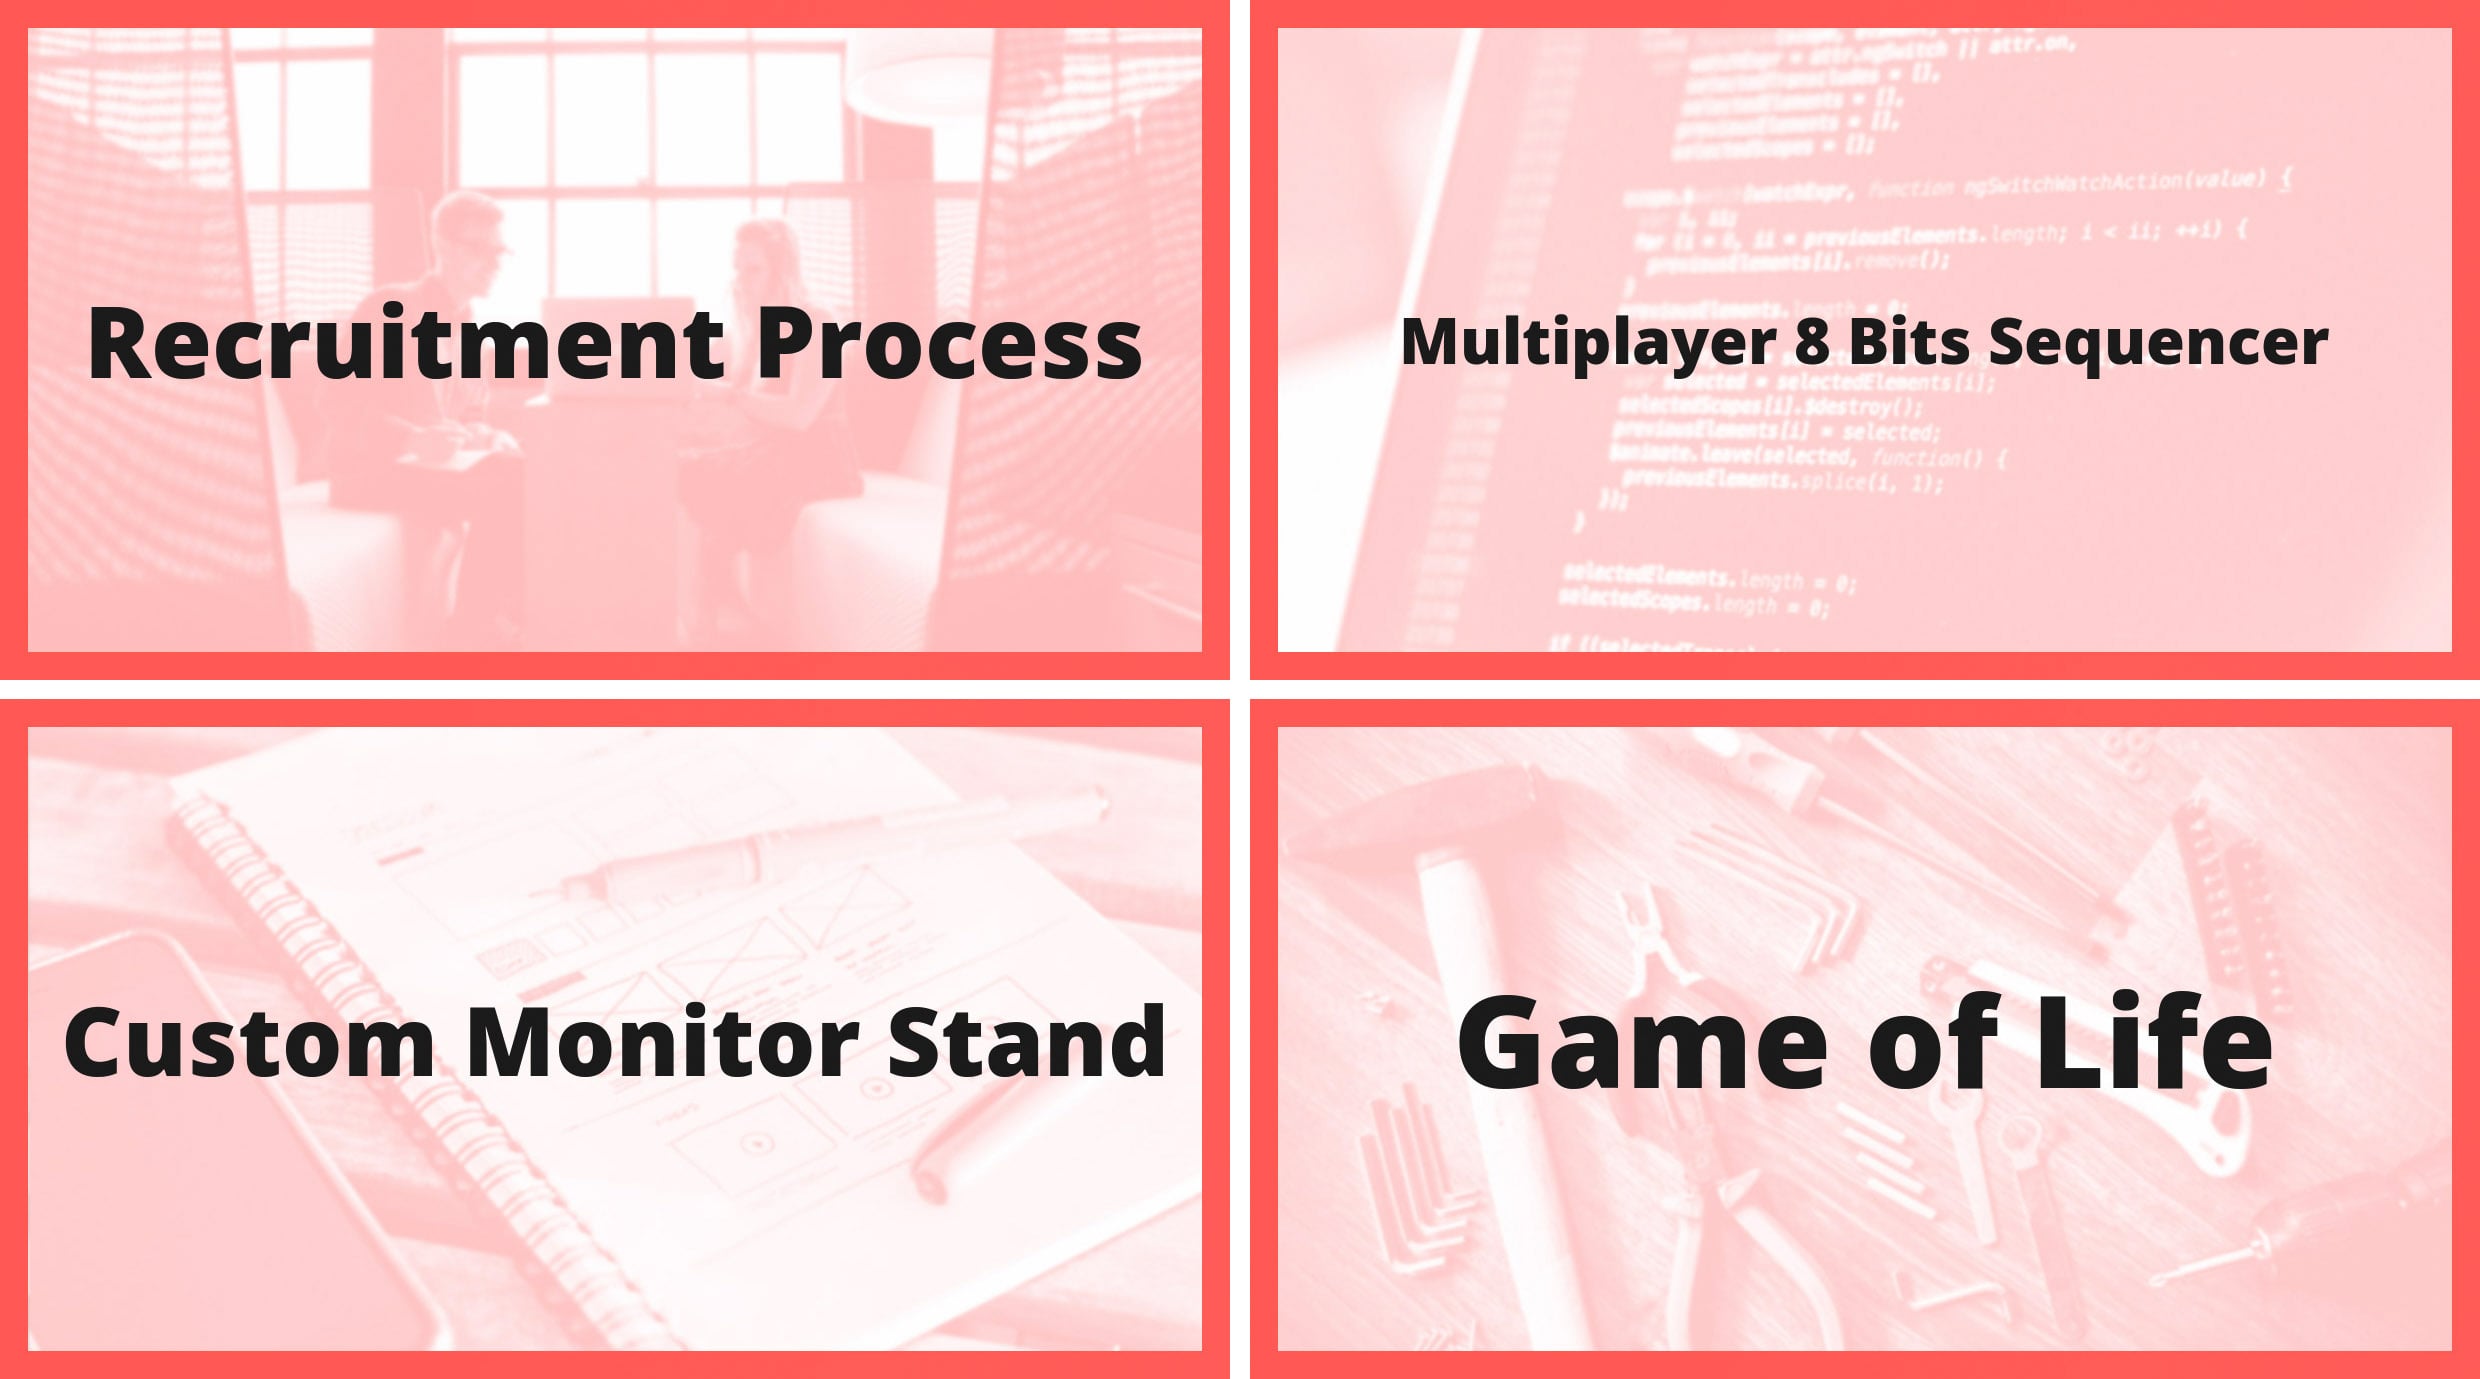
The Result
There is of course a lot to improve, including finding better photos, adjusting the duotone contrast, making the border look nicer… but I think that’s an improvement over having no image at all so I’ll keep it for now!
Seen On Twitter

A Few Examples
How to Automate
Since I didn’t want to generate images manually using Photoshop each time I wrote a new article, I created a small Ruby script to do it for me.
Figuring Out What Text To Write
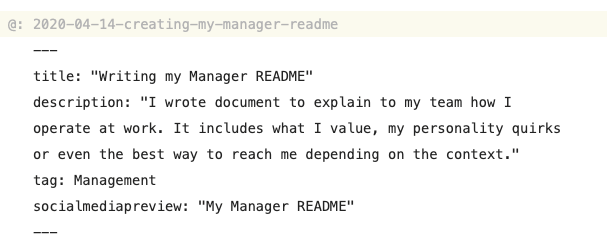
I use Jekyll for my blog, meaning that all my articles are written in markdown and have a set of customisable attributes. I used this fact and added a “social media preview” attribute to the front matter section of the articles.
To illustrate, here is how my Manager README article’s attributes look like:
Once I decided on the format, and went back and wrote the preview text, I needed to programmatically go through all articles and find the category and tag.
At first I wanted to load up Jekyll to use their parsing capabilities, but it turned out to be more painful than expected. To move faster and save me the headaches, I went back to regular expressions. This is obviously less than optimal, but it did the trick.
Note that I also kept the posts’ file names as their unique identifier.
FOLDER_PATH = "../_posts/"
MESSAGE_PATTERN = /^socialmediapreview: "([&a-zA-Z0-9]()_ !\/\?\.:;=+$%éèà\-']*)"$/
TAG_PATTERN = /^tag: "?([&a-zA-Z0-9]()_ ]*)"?$/

Dir.entries(FOLDER_PATH).each do |file|
  file_name = file.to_s.gsub(".md", "")
  file_data = File.read(FOLDER_PATH + file)
  msg = file_data.match(MESSAGE_PATTERN)
  tag = file_data.match(TAG_PATTERN)
  generate_image(file_name, msg[1], tag[1])
end
Adding Text Over an Image Programmatically
To generate the images I used ImageMagick. I described this process in more detail in this article: Add Text Over an Image with Ruby.
Figuring Out Font Size
I wanted the text to take up as much space as possible, but since all the preview messages would be different, it wouldn’t make sense to just have one font size. To solve this, I came up with this small tweak based on text length that worked for my situation:
txt.pointsize = 175 - message.size*4This is not perfect since, in non fixed-spaced fonts, letters likeM and W are way bigger than i or l… but this solution seemed a decent in between. To improve, I should add a length factor depending on the type of characters in the message.
Generating The Images
The whole thing is pretty straightforward, basically calling this generate_image(file_name, message, tag) method containing the following:
img = Magick::ImageList.new("./backgrounds/#{tag.downcase}.jpg")
txt = Magick::Draw.new
img.annotate(txt, 0,0,0,0, message) do
  txt.gravity = Magick::CenterGravity
  txt.pointsize = 175 - message.size*4
  txt.fill = "#1c1c1c"
  txt.font = "/path/to/font/OpenSans-ExtraBold.ttf"
  img.format = "jpeg"
end
img.write("../assets/previews/#{file_name}#{EXTENSION}")
Once this is done I can just run the script and it will regenerate all the preview images.
Letting Twitter/Linkedin/Facebook Know
Finally, once the assets were generated, I needed to make the information available to the social media platforms. I didn’t want to actually display the image on the articles, so I only put the information in the header of all my post articles using the og:image tag as described here.

To know if the assets were properly read, I had to use each platform’s debugger tool:
Debugging this part was a bit annoying as I needed to push a release every time to see if the various sites understood my changes. I could have setup some kind of tunnel or use ngrok but I got lazy which ended up costing me more time. Platforms like Twitter also had a very weird cache management system which made the whole process last way more painful than it should have been.
Conclusion
The whole image generation process is now working fine - maybe you even came to this article through a link featuring one of these previews!
It obviously took me more time to automate than to do manually, but it was way more fun to do it this way :) I also believe that time spent is not the only measure triggering a need for automation.
A few things that I should improve:
- Make it look better. Clearly the border is not as cool looking as I wanted, the duotone colors could be nicer… on this part I know that I’ll need help :)
- Trigger the script automatically on file change instead of manually before releasing.
- Refactor the script a bit, making it cleaner and more defensive. I could also figure out a way to not regenerate all images each time, with some state management.
- Use proper parsing instead of regular expressions.
- Have a better local setup to work with this, probably with a tunnel to get quicker feedback from social media sites.
Since you scrolled this far, you might be interested in some other things I wrote: