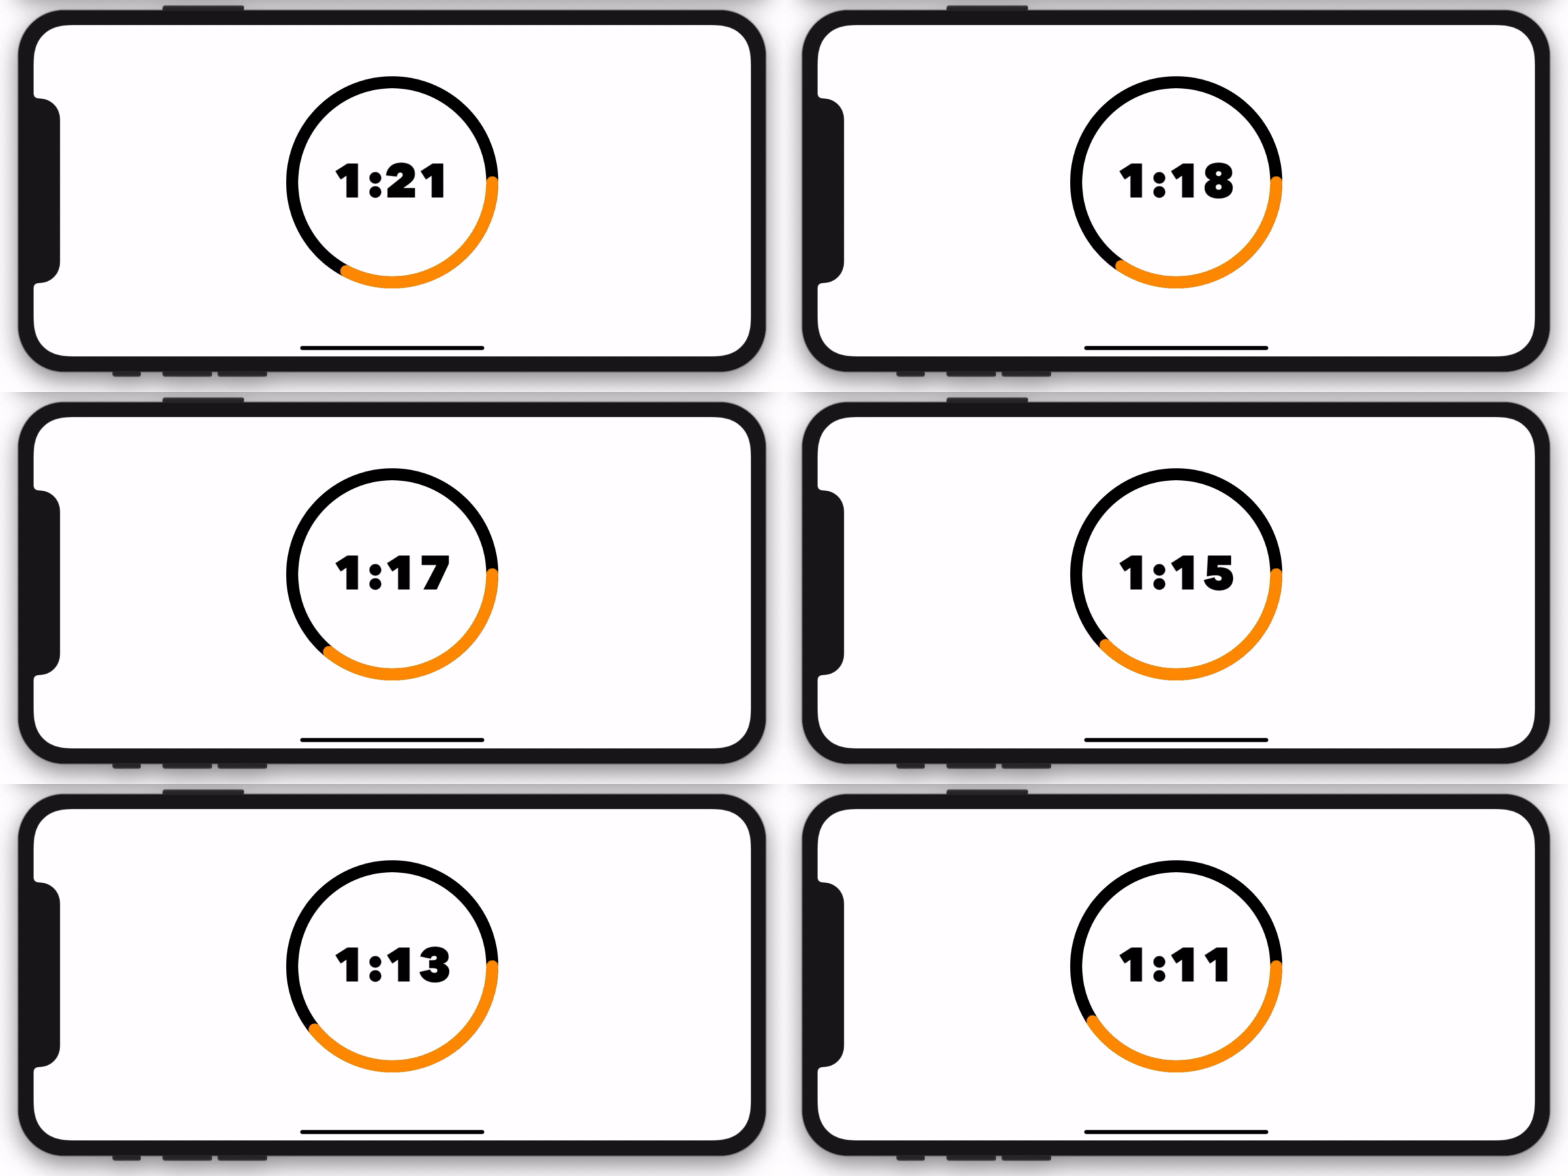
I’ve tried a few times to find a better way to do mobile development. In 2010 I started using Titanium to auto generate simple mobile apps. Later, in 2012, I gave RubyMotion a go. A year later, I used Steroids.js and PhoneGap to release my first iOS app… but I was never really happy about these technologies. After seeing SwiftUI it felt like a massive improvement over the current state of iOS development, so I decided to try it out. I have to say that it’s almost everything I wanted, only missing the cross platform aspect.
To learn the framework, I’m currently working on an app to coach you during shadow boxing sessions, and I though I would share how to build a small component I had to build.

I’ll first share the entire Swift file and then give some details about parts of it.
Just Give Me The Code
Disclaimer: Keep in mind that I’m still new to the technology. The code organisation can be improved and there are some refactoring to be made. For instance you probably don’t want to handle your state like this in a full fledge application, and the timer just floats in the middle of the file :) Don’t hesitate to leave a comment with your improvement suggestions.
Timer Logic
There is a timer that will tigger an event every second to show progress. We could also have plugged it into a task progress or a simple button incrementing a variable.
	let timer = Timer
	 .publish(every: 1, on: .main, in: .common)
	 .autoconnect()
Then we can add an onReceive that will increment a counter until we get to a certain point we’ll call countTo.
	onReceive(timer) { time in
	 if (self.counter < self.countTo) { self.counter += 1 }
	}
SwiftUI Views
Clock View
We can create a new Clock: View that will display the counter. With some minor maths and padding we can turn the counter from an integer to something with minutes and seconds, as visible in counterToMinutes(). We could have used a time object, but I liked the versatility of the integer here.
ProgressTrack View
This view is the “track” of the progress bar, meaning what is displayed when the progress bar is not filled. We’re using the fact that we need an overlay to have a stroke effect on a shape.
ProgressBar View
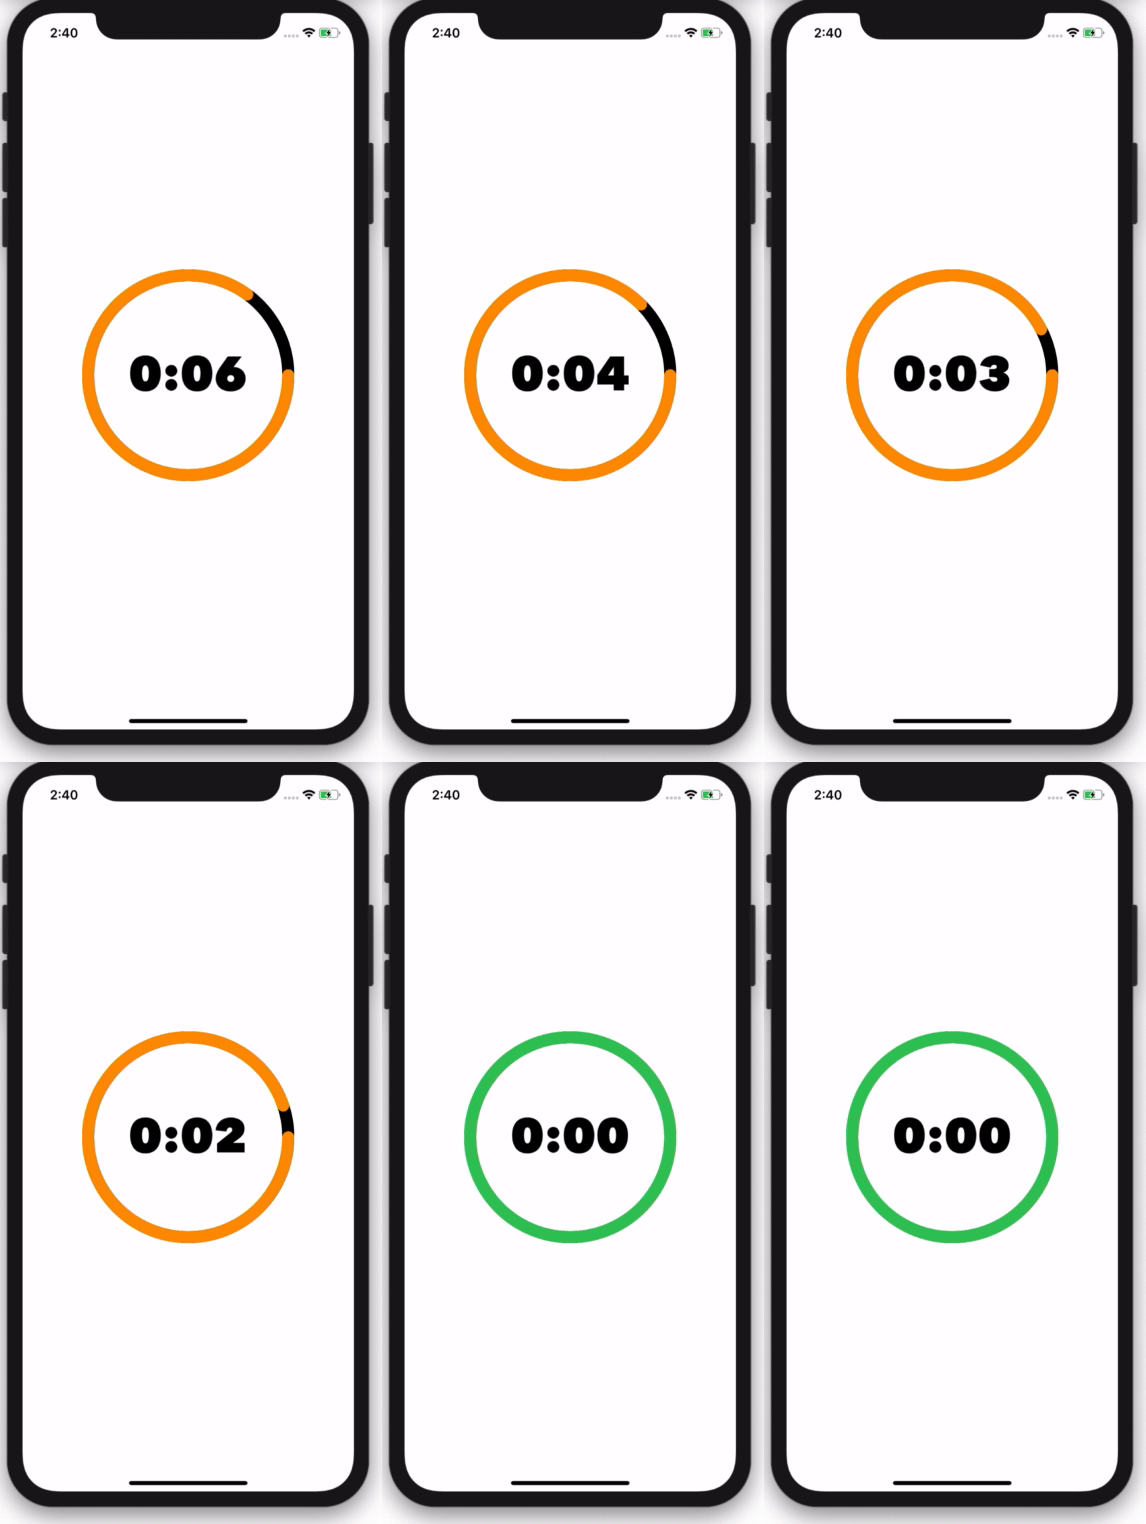
This one is where the entire circular progress is made. Worth noting is the color changing to green when it’s complete:
completed() ? Color.green : Color.orange
We also use a custom StrokeStyle to have a rounded tip on the progress bar.
Since you scrolled this far, you might be interested in some other things I wrote: